



















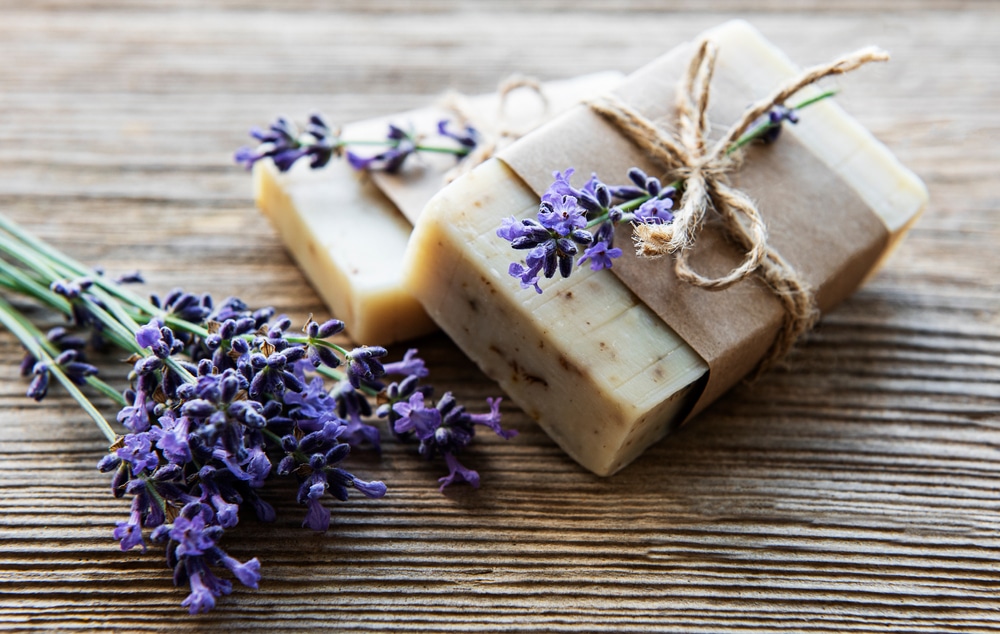
Crafting your own soap through the cold-process method is a rewarding way to take control of your family’s skincare. By making soap from scratch, you ensure that every ingredient serves a purpose, allowing you to avoid the synthetic additives often found in commercial bars. Cold-process soap making relies on a natural chemical reaction called saponification, where fats and lye combine to produce gentle soap and skin-loving glycerin. This guide will walk you through the nuances of this traditional craft so you can create professional-quality bars at home.
For those looking to transition toward a more self-reliant lifestyle, resources like “Homegrown & Handmade” offer valuable roadmaps for eliminating artificial ingredients from the home. Whether you are a budding homesteader or simply a parent looking for natural alternatives, mastering the art of soap making is a practical step toward a more authentic and sustainable household.
Mastering the Traditional Cold-Process Soap Method
Preparation is the most critical phase of soap making. Before you begin, clear your workspace and organize your tools to ensure the process flows smoothly. Safety and readiness prevent mistakes during the chemical reaction phase.
Essential Safety and Mold Preparation
Safety is paramount when working with lye (sodium hydroxide). Always keep a bottle of vinegar nearby to neutralize any accidental splashes on your skin. Additionally, ensure your molds are ready before you mix your ingredients. If you are using intricate silicone molds, a light coating of oil can help with release. For wooden loaf molds, lining them with freezer paper is essential to prevent the soap from bonding to the wood, making it much easier to remove once set.
Gentle Castile and Goat’s Milk Soap Recipe
A classic Castile soap is defined by its high olive oil content. This specific recipe uses 54 percent olive oil, creating a bar that is exceptionally mild and perfect for sensitive skin, face washing, or daily showering. This batch yields approximately twelve 5-ounce bars.
When starting out, it is best to stick to these specific quantities. Unlike cooking, soap making requires precise chemistry. You cannot swap one oil for another because every fat has a unique saponification value—the specific amount of lye required to turn that oil into soap. Always follow the recipe exactly to ensure a safe, balanced bar.
Ingredients for Natural Handmade Soap
- 24 ounces olive oil (for conditioning)
- 8 ounces palm oil (for hardness and lather)
- 8 ounces coconut oil (for cleansing properties)
- 4 ounces sweet almond oil (for a luxurious feel)
- 13 ounces goat’s milk (partially frozen to prevent scorching)
- 6 ounces lye (sodium hydroxide)
- 2 ounces essential oil (optional; lavender, orange, or grapefruit are excellent choices)
While goat’s milk is prized for its moisturizing vitamins and minerals, you can experiment with other liquids once you are comfortable. For a vegan alternative, oat milk is a fantastic substitute that offers similar soothing properties for irritated or dry skin.
Step-by-Step Guide to Mixing and Pouring
1. Melting and Combining Oils
Begin by weighing any oils that are solid at room temperature, such as palm oil. Melt these in a stainless steel pot over low heat. Once liquid, remove from the heat and stir in your liquid oils, such as olive and sweet almond oil. Aim for a temperature between 100°F and 120°F. If the mixture is too hot, let it sit until it cools into this range.
2. Mixing the Lye Solution Carefully
Safety gear, including long sleeves and rubber gloves, is mandatory here. Place your frozen goat’s milk chunks into a heavy-duty mixing pitcher. Slowly add the lye to the frozen milk, stirring gently. The lye will naturally generate heat and melt the milk within a few minutes. Important: Always pour the lye into the liquid. Never pour liquid into lye, as this can cause a dangerous chemical eruption. Your goal is to have this mixture reach a temperature of 100°F to 120°F.
3. Combining Mixtures and Reaching Trace
Slowly pour the lye and milk solution into your pot of oils. Use a stick blender to emulsify the mixture. If you plan to add dried herbs, oatmeal, or essential oils, incorporate them now. The mixture is ready when it reaches “trace”—this is when the soap has thickened to the consistency of a thin pudding. You’ll know you’re there when you lift the blender and the drips leave a visible trail or “trace” on the surface rather than sinking back in immediately.
4. Molding the Soap
Pour the mixture into your prepared molds. Do not wait too long; if the mixture starts to look like thick mashed potatoes, it has “seized” and will be difficult to pour. If this happens, simply spoon it into the mold and press it down firmly. It may not look as smooth, but it will still function perfectly as soap.
5. Preventing Ash and Managing Heat
To prevent “soda ash”—a harmless white powder that can form on the surface—cover the top of your mold with wax paper or freezer paper for the first 24 hours. Unlike water-based soaps, milk-based soaps should not be insulated with blankets. Milk contains natural sugars that cause the soap to heat up significantly. If insulated, it can overheat, causing the center to expand and create an internal tunnel.
6. Slicing Your Bars
Allow the soap to rest in a safe, undisturbed area for 24 hours. Once firm, unmold the soap and slice it into bars. It is important to slice the soap relatively soon after the 24-hour mark; if you wait too several weeks, the bars may become too hard and brittle, causing them to crumble or break during cutting.
7. The Curing Phase
Set your sliced bars on a wire rack in a well-ventilated area. They need to air dry and “cure” for three to four weeks. This process allows excess water to evaporate, resulting in a harder, longer-lasting bar with a more stable pH level. For a creative upcycling tip, you can even use cleaned-out cardboard potato chip canisters as circular molds; just peel the cardboard away after 24 hours.
The Advantages of Switching to Homemade Soap
- Complete Ingredient Control: You decide exactly what touches your family’s skin, choosing high-quality fats and natural botanicals over cheap fillers.
- Superior Gentleness: Handmade soap retains its natural glycerin, a humectant that draws moisture to the skin, making it far less drying than store-bought detergents.
- Customized Skincare: You can tailor each batch to your needs—adding oatmeal for exfoliation, aloe for healing, or specific oils for aromatherapy.
- A Creative Outlet: Soap making is an art form. From swirling colors to choosing unique molds, every batch is a signature creation.
- Environmental Impact: By making your own, you reduce plastic packaging waste and can ensure your ingredients are sourced sustainably.
- Long-Term Savings: While the initial setup requires an investment in tools, making soap in bulk is a cost-effective way to provide high-end skincare for your household.
Choosing to make cold-process soap is more than just a DIY project; it is a commitment to natural living and a wonderful way to bring a touch of handmade luxury into your daily routine. By following these steps and respecting the chemistry involved, you can produce beautiful, nourishing bars that are as good for the planet as they are for your skin.